PhotoStepper
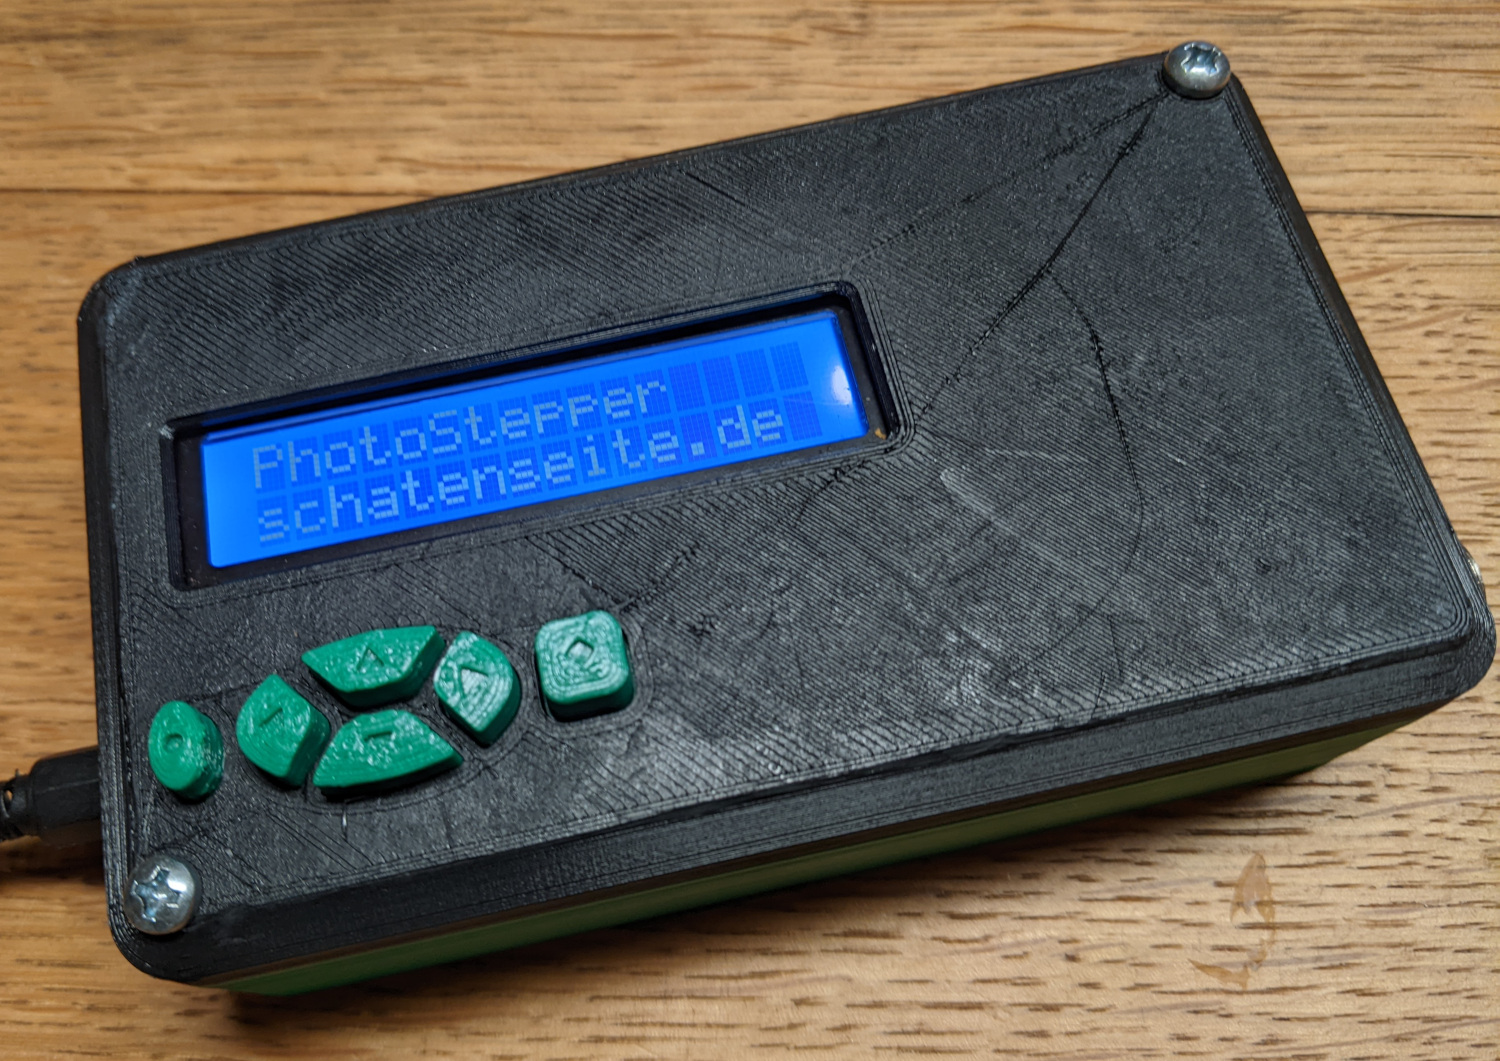
A stepper motor controller for use in photography.
This is a device that can be used to control a stepper motor and a camera, to make a defined number of photos with a defined movement in between. A stepper motor can be attached to a rotating platform or to a linear drive, so either the object or the camera can be moved between the pictures.
Hardware
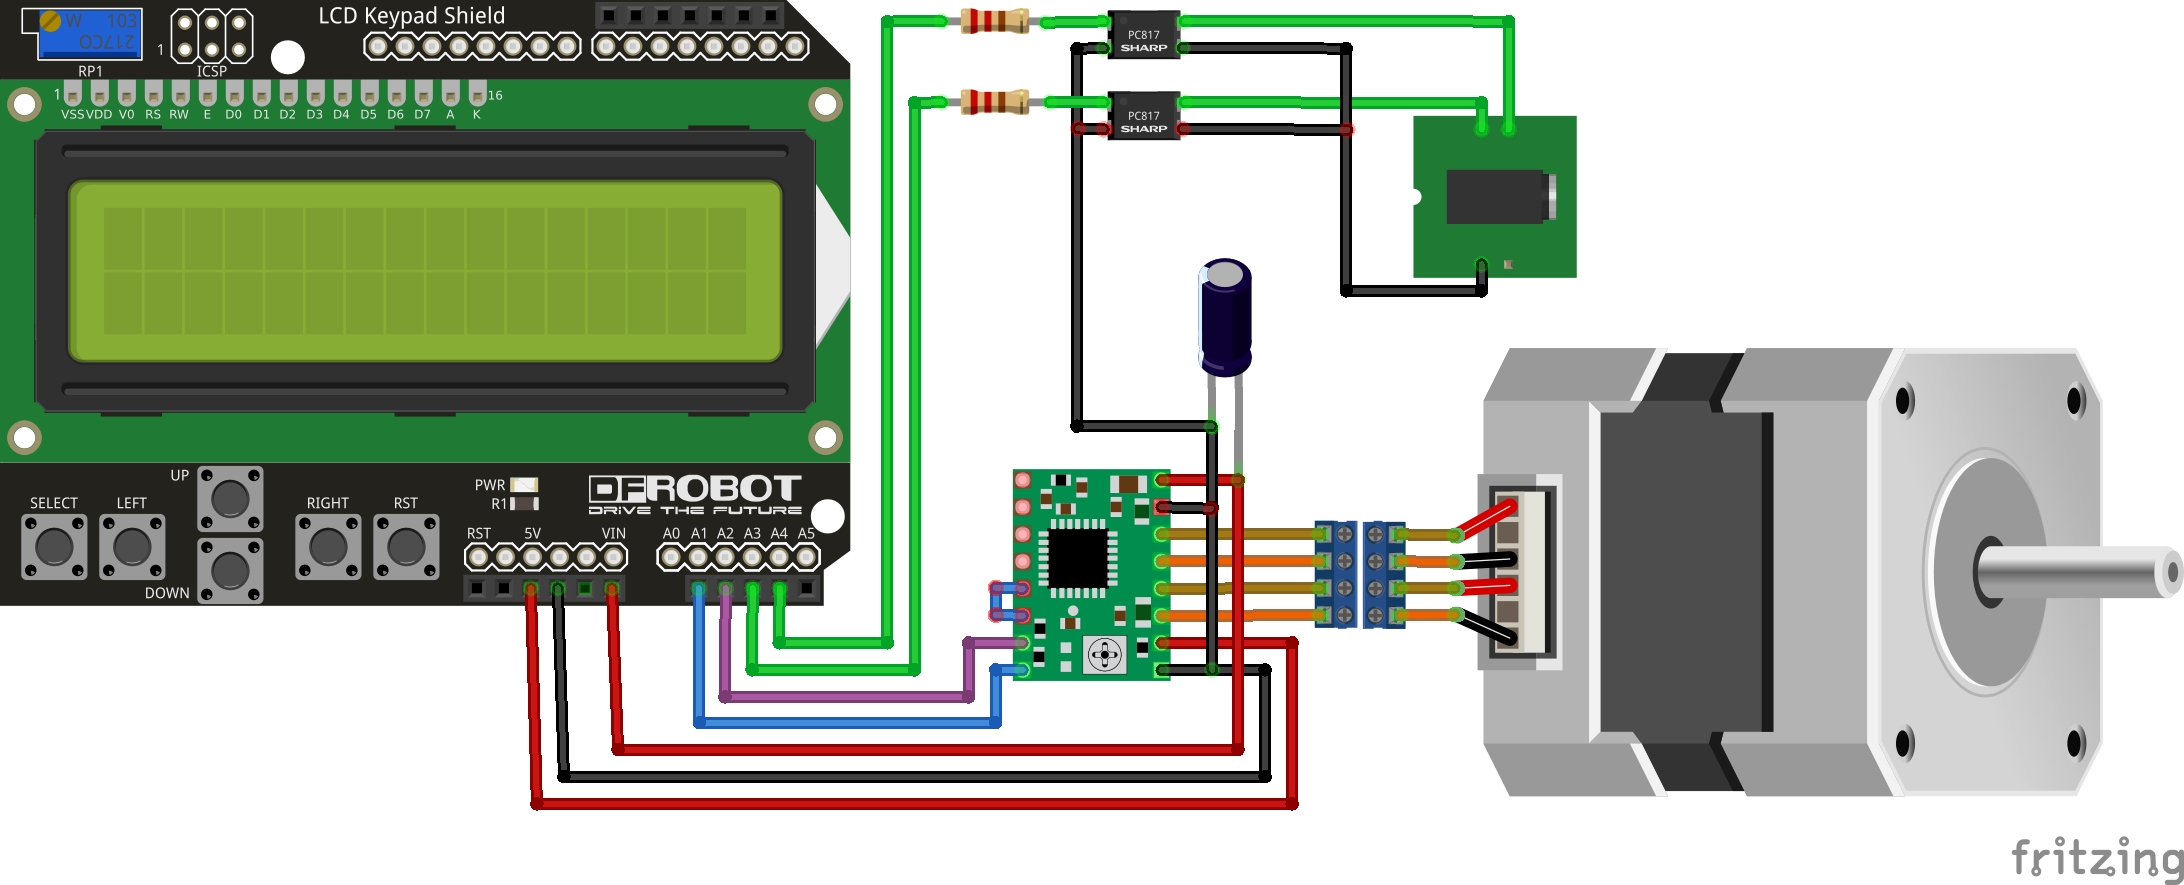
The device consists of the following components:
- Arduino Uno, the brains of the operation
- LCD & keypad shield, as the user interface
- an A4988 stepper motor driver
- a 100uF capacitor
- two PC817 opto-isolators
- two 1k resistors
The circuit is pretty simple:
Atop of that, I used an M13 connector for the stepper motor and a 2.5mm stereo phone connector for the camera. To interface my camera, I had a ready made cable from a remot camera controller (Ayex AX-5). The whole thing is powered by a 12V power supply, connected directly to the Arduino.
This is the ideal case for the build: https://www.thingiverse.com/thing:142282/files
Software
This project makes heavy use of the following libraries:
- ArduinoMenu 4 (v4.21.4) for the menu structure
- StepperDriver (v1.3.1) for motor control
- AnalogKeypad by Makuna (v1.1.1) for reading input keys
Menu structure
The main menu offers the following features:
-
Jog
Up and down buttons move the motor manually, pressing the buttons for more than a second doubles the speed.
-
Configuration
General settings for the device:
-
Settle time (tSettle, default 1000ms)
Pause between motor movement and camera triggers, to avoid blurred images because of a shaking camera setup.
-
Focus time (tFocus, default 1000ms)
Half-press of the shutter button, time to let the camera focus. Usually you want to use manual focus when using this device, so it doesn't hurt to lower this time.
-
Shutter time (tShutter, default 1000ms)
How long to press the trigger. Note that you have to setup the exposure time on your camera before shooting, this is really only how long the button is pressed.
-
Return (default: On)
Reverse any movement to starting point after shooting the whole scene. This allows to repeat the scene with the same parameters.
-
DarkenLCD (default: Off)
Turn off LCD backlight while shutter is open, used to avoid scattered light when shooting in the dark with long exposure time.
-
-
Scene
Settings for a particular scene:
-
Steps (nSteps, default 10)
Number of steps for this scene. You want to take enough pictures to cover the whole subject.
-
Distance per step (distance, default 0.5mm)
How far to move between the steps. This should be set lower than the estimated depth of field for the setup.
-
-
Run
Run the whole setup, starting with settle time and ending with returning to the starting point.
Usage
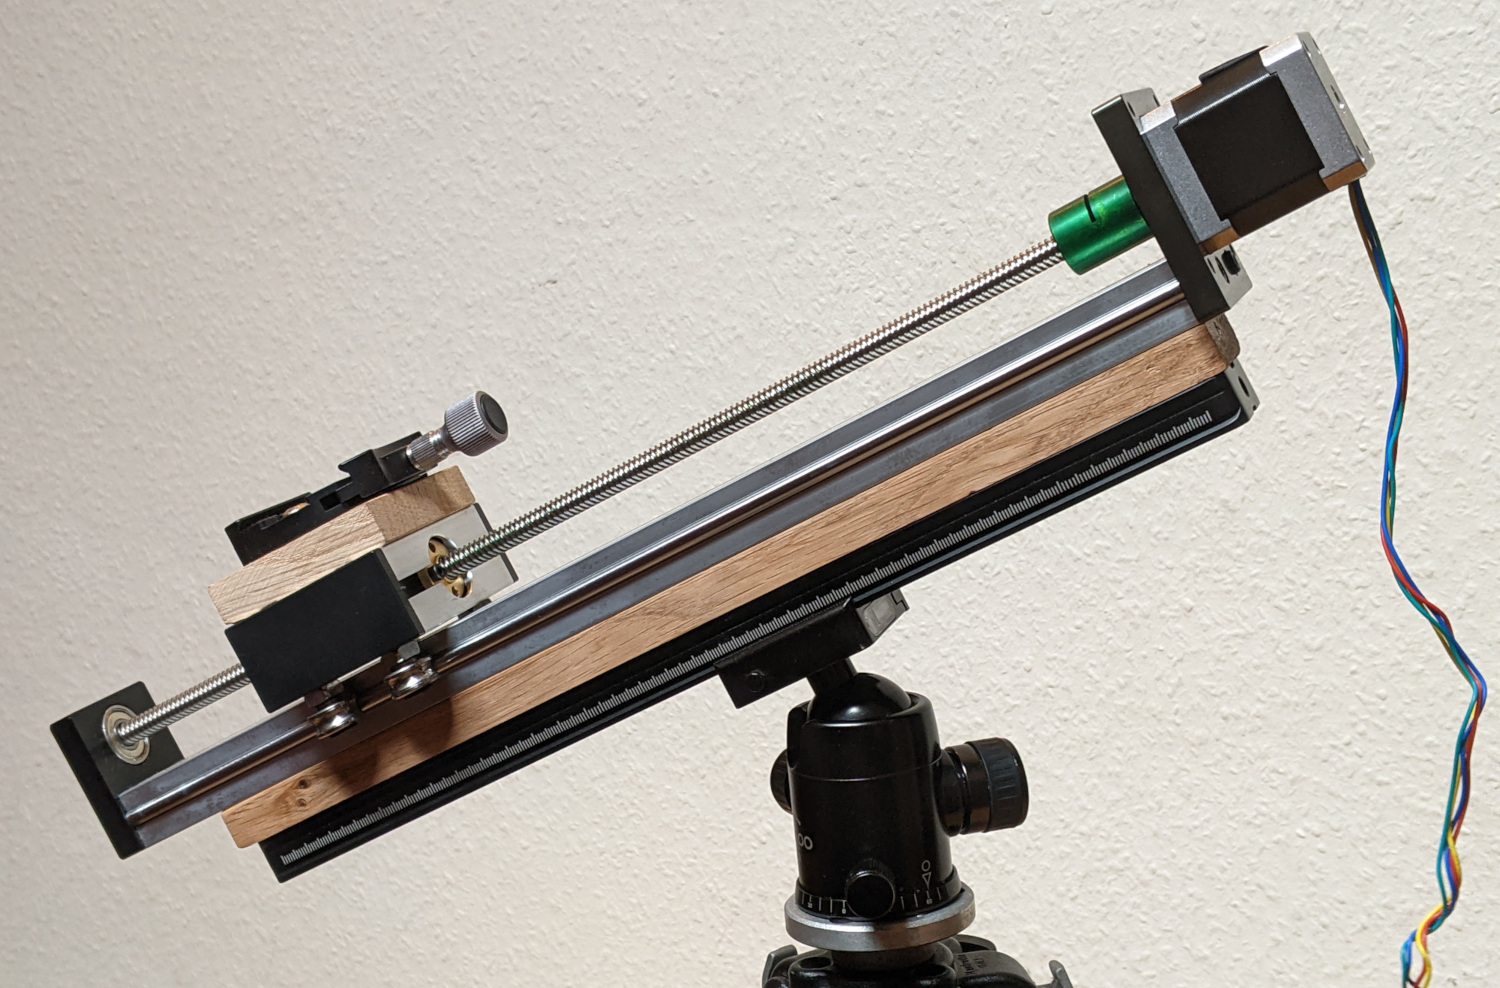
I built myself a linear rig to move my camera along the scene:
The rig is mounted on a tripod, my camera with all the needed equipment for macro photography atop of that.
Then I setup the scene I want to capture. I focus on the main feature of my motive, set the camera to manual focus and setup exposure time and aperture. After a testshot I can estimate the depth of field that gives me a sharp picture. The I use the jog function of the device to place the camera closer to the object, so the focus plane moves behind the object. I estimate the total depth of field I want to get in my final picture and set the correct values for my scene.
After everything is prepared, I select Run to capture the whole scene. The camera takes a picture, moves slightly back, takes the next picture, and so on. When the set number of steps is reached, the camera gets moved back to its original position, that gived me the chance to make slight changes to the object and rerun the program with the same parameters.
Example results
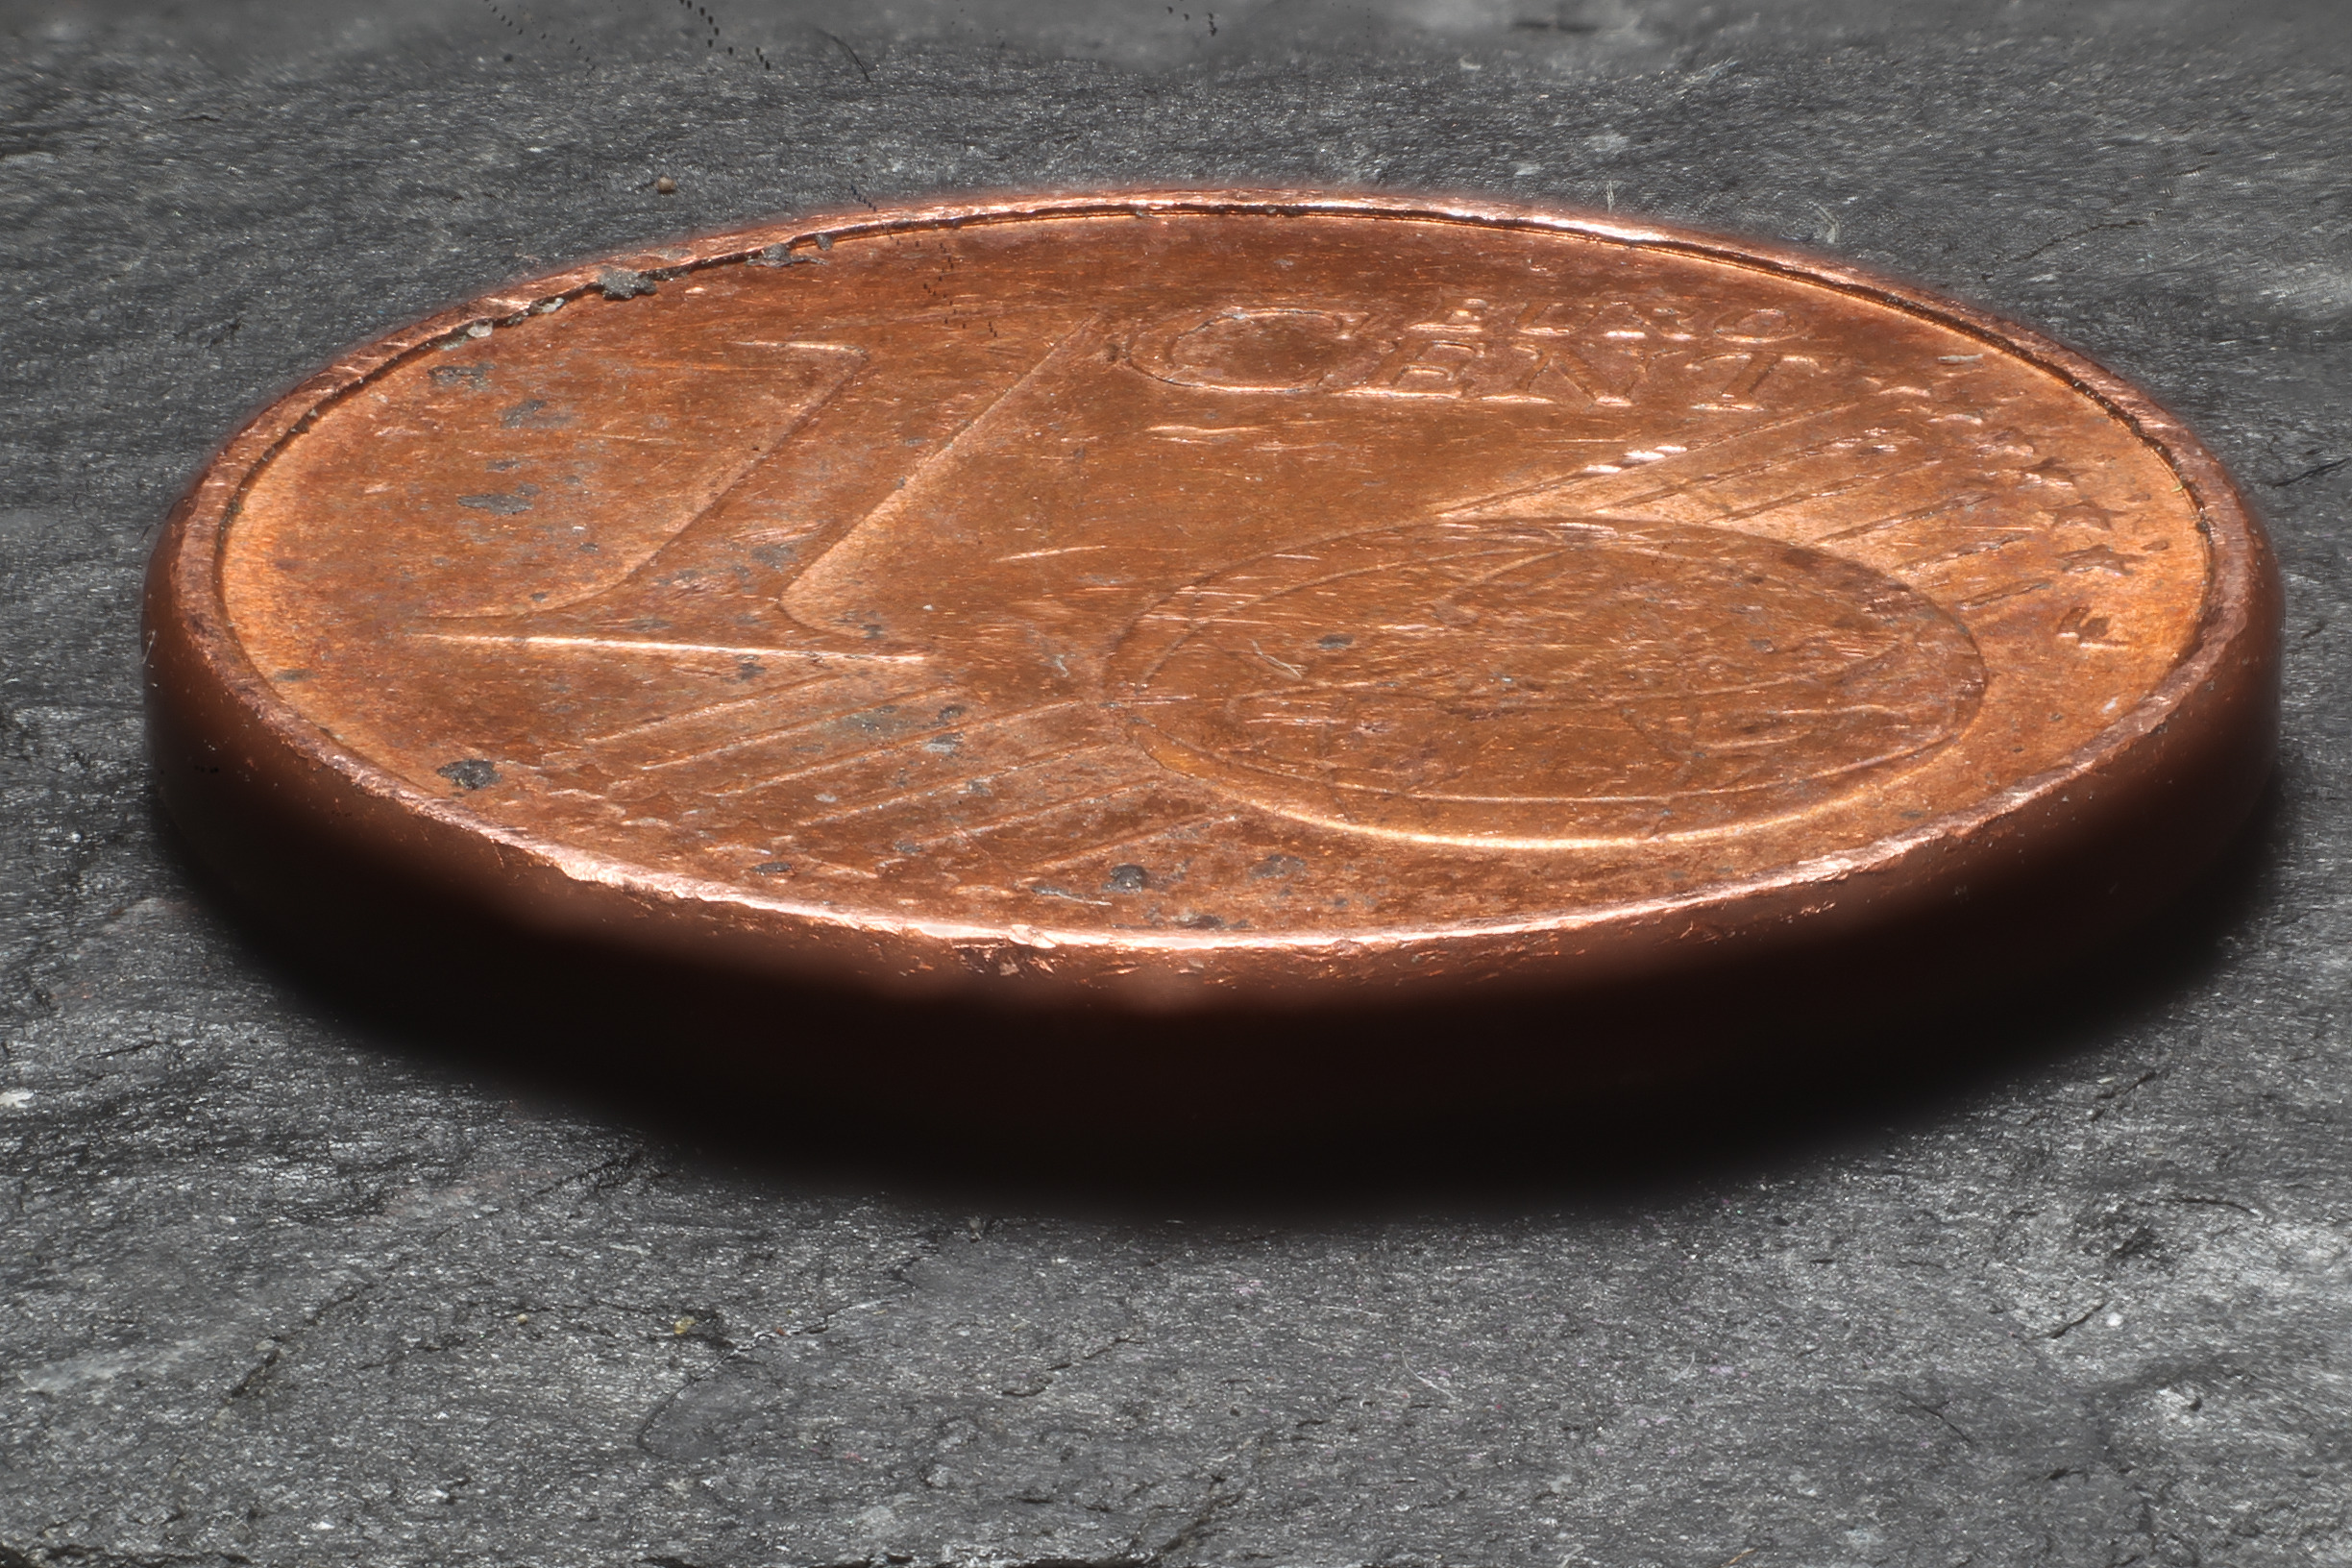
This is the first image that was made using this project:
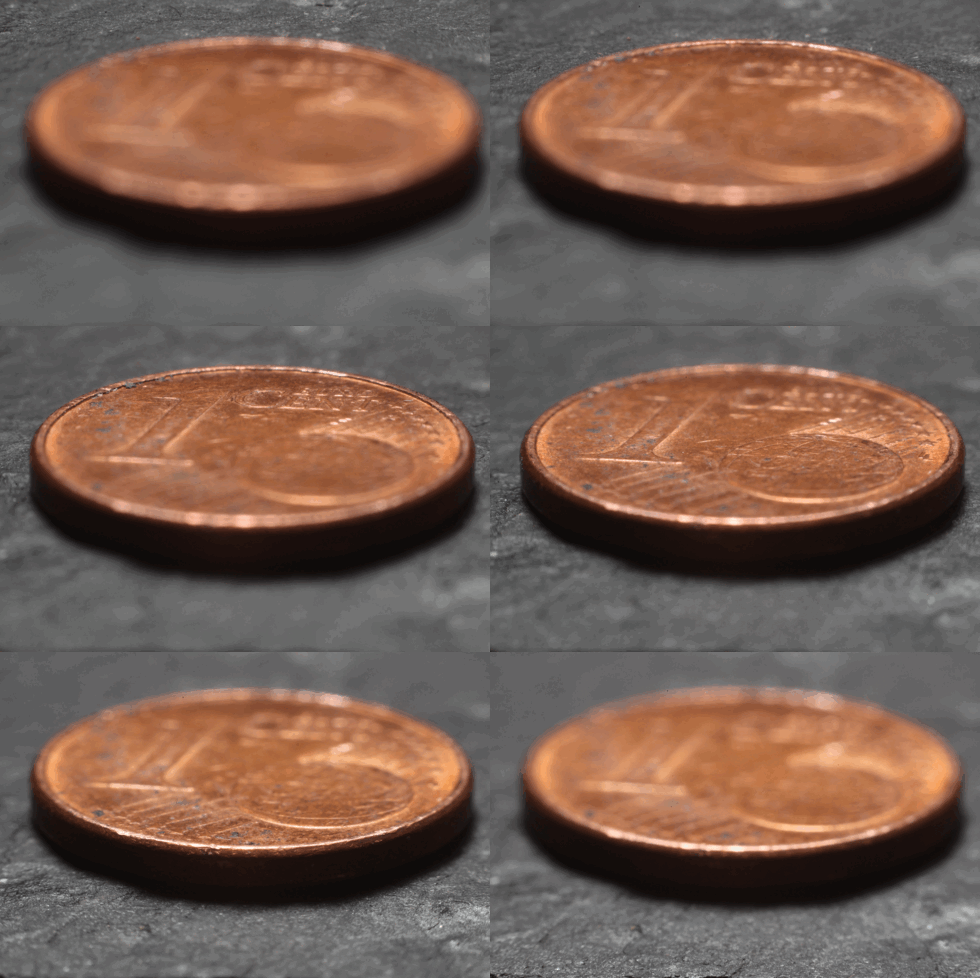
Depth of field for my setup is a little more than 1mm, so this image is composed from 30 different shots, each 1mm apart. Here's an animation of the non-fused images:
The images were taken as JPG. For some reason the align-program did strange things with my full size images, so I reduced them in size first -- it's only a first test:
for i in *.JPG; do convert $i -resize 50% $i.tif; done
Then I was able to align all images:
align_image_stack -ma aligned_ *.tif
This command not only aligns all the images, the -m options optimized the field of view. In a focus stacking setup, the camera gets moved towards or away from the object, so not only the focus plane is moved but the whole objects gets bigger or smaller. With this option, all images are resized, so the object stays in the same position and size throughout the full stack of images.
Once this is done, I created the final image from my stack of photos:
enfuse -o result.tif --exposure-weight=0 --saturation-weight=0 --contrast-weight=1 --hard-mask --contrast-edge-scale=0.5 aligned_00*
